When I was little, we had a tree house we could play in. It was a fantastic place to hang out for long stretches, and provided an excellent foundation for countless games of imagination. I'm pretty sure it was mostly a space ship, but it was probably also a pirate ship, a submarine and who knows how many other things.
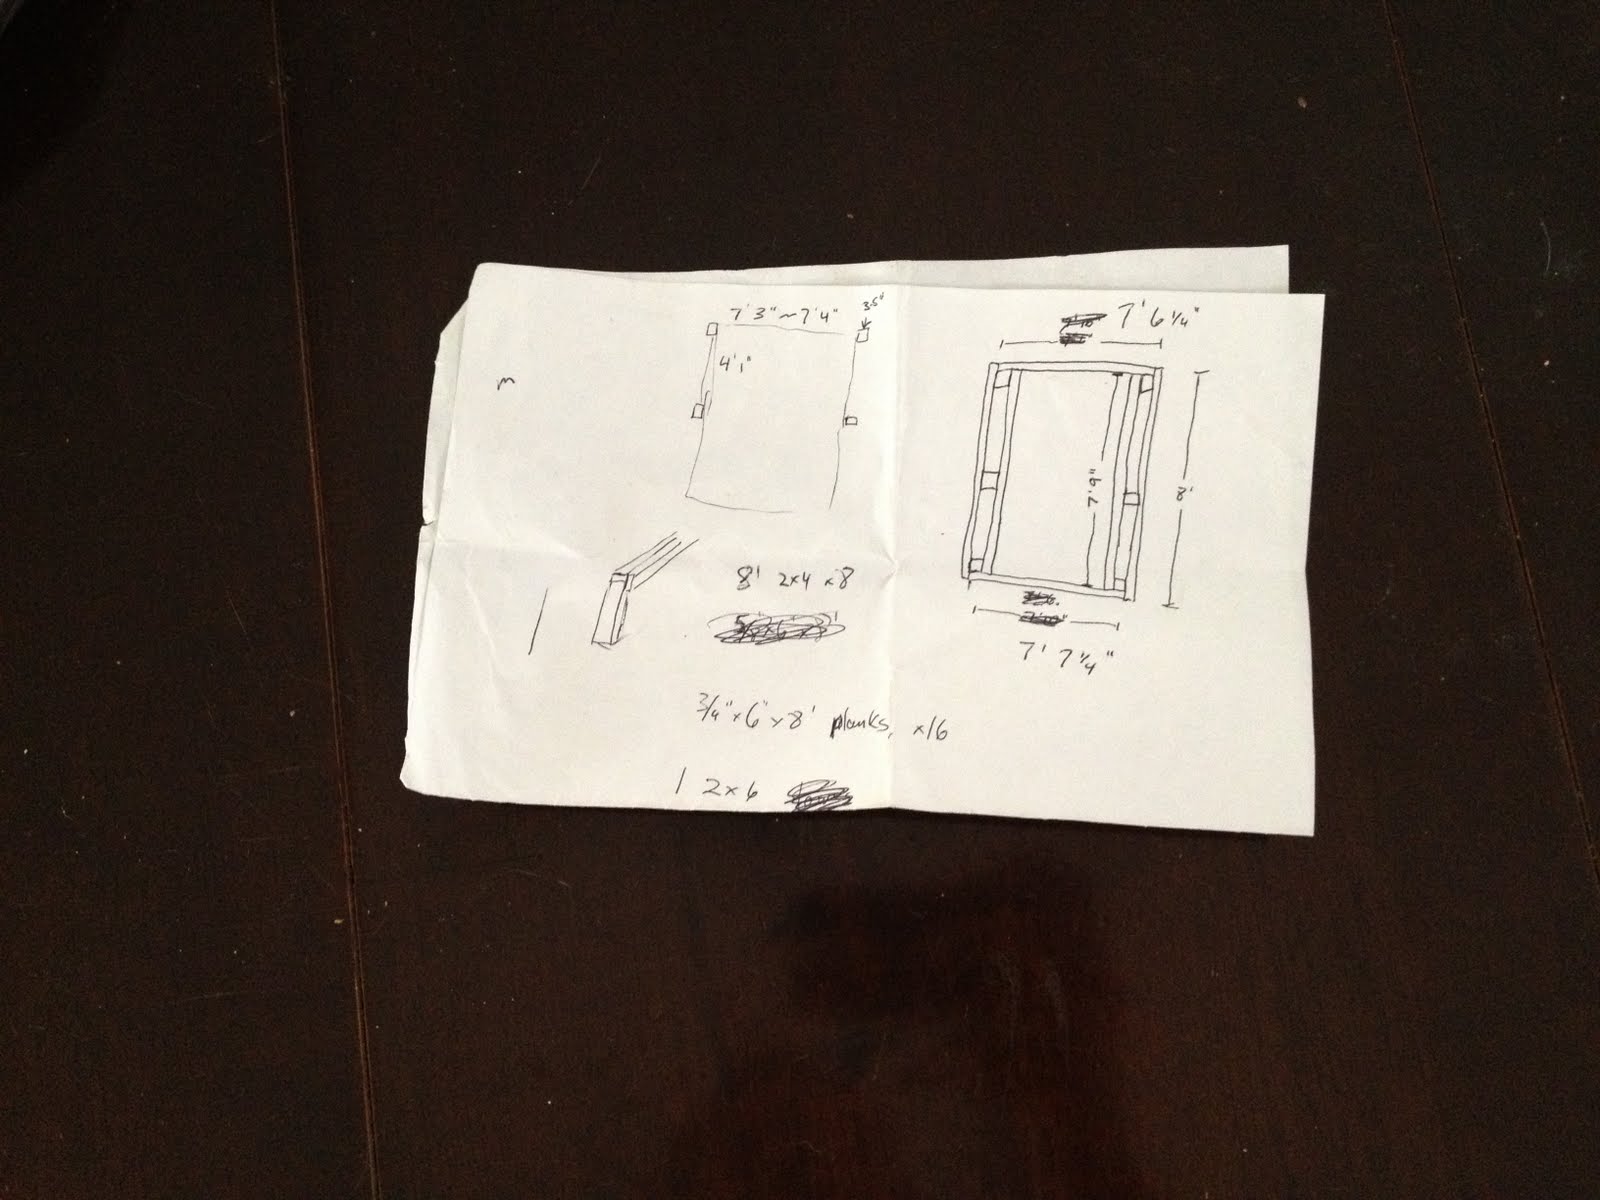
The yard where we live now doesn't have any decent sized trees. None of them are big enough to climb, let alone support a tree house. Since we're also raising two young boys (2.5yrs and 5yrs), something had to be done. After thinking about it for a while, I decided to get some redwood and build an elevated platform NEXT to a tree (so technically it's not a treehouse but it's pretty close!) If I kept it at or under 64 square feet, I wouldn't have to get a permit for it - but it HAD to be big enough for the boys and I to camp out occasionally, so I figured 8'x8' would do it. I made a very rough sketch of the vague plan so I would minimize any mistakes (in years past I would tackle something like this without writing down a thing, and I ALWAYS ended up cutting a critical piece a few inches short!)

I started out by digging two post-holes a little less than eight feet apart, and about a foot from the back wall. I dropped in the posts, rigged them plumb and poured in cement. After they set, I took some measurements and started digging the next set of holes. As luck would have it, I dug straight into a buried sprinkler pipe (and of course broke the pipe with the post-hole digger). Then I got to spend some time digging out enough space around the pipe to repair it.
Because of the sprinkler pipe I had to move the second set of posts closer than planned to the first two - only four feet apart instead of the five I had planned. It still seemed like it should be sufficiently sturdy, so I wasn't too worried. I nudged the next two posts into position so they were more or less square, then cemented those in as well.
The next weekend I added two 2x6 beams on each post, and then 2x6's across the front and back, finishing the base of the platform. Everything still measured square and was coming together nicely. Joists were added, then corner braces. After that, it was time to put the decking down.
Of course any decent treehouse needs a hatch for entry, so as I was putting down the 1x6 flooring, I cut four planks even with the joist.
After I had half the floor nailed down, and the rest of the planks up on the frame ready to be lined up and nailed, the work site was deemed "safe" for early trials. The boys carefully joined me, and helped. They both had a chance to shoot a few nails with the nail gun :)
I added the last posts and started the railings, then got to work on the hatch and finishing off the railings by adding 3/4" square uprights.
After the hatch, I built the stairs from two 12' 2x6's, and was done! (For about a day...)
I thought it looked pretty good, but it didn't look like a house. It also only had shade over half the platform, so on a hot summer day it was unlikely to see much use. I also expected to spend a lot of time here on my work from home days, so it was going to need some shade.
The addition of about 40' of 1" PVC and a sail shade we had left over from a previous incarnation of our back yard solved the problem. It's probably not sturdy enough to stand up to the santa anas we get, but luckily it can be easily removed in the event of heavy weather.
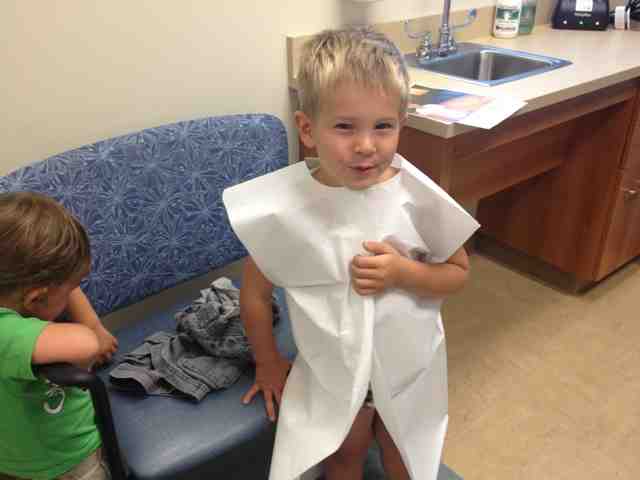
So far the boys have only sustained one injury. Anderson was climbing up or down when I had the aluminum ladder there, and managed to get down to the ground without using his hands. Or his feet.
Mostly he just used his head :( But he was none the worse for wear the next day, and it hasn't deterred him at all - hopefully it's just made him a tiny bit more careful on the ladder!
It's already a popular choice for reading stories, and they're both pros at getting up and down and opening and closing the hatch. We're looking forward to spending a lot of time up there in the years to come - I'm especially excited to see them having new adventures up there on their own just like I did when I was growing up!
(All the pictures are here)